There are many solutions out there but why are you here? because you are looking to build the Cheapest Ambilight Setup for your gaming monitor. So with out any futher ado, lets get started. This is something which will get build under/ around 500 INR/ ~ 6$ if your monitor is 22inches mine was 34inches so it reached INR 1000 roughly 12~13$.
Things which will be required.
- ESP8266 NODE MCU - comes for INR 250 ~ 3$ (You need to flash Node-MCU using another set of procedures listed here, it’s super easy and super clean, you’ll be done in a minute)Steps.
- WS2812B LED Strips based on the dimension of your monitor. mine was around 2.5 M so I ordered 3m Strips for INR 700 ~ $9.
- Last but not the least you need some jumper wires.
- USB Micro cable to power up your node mcu.
There seems to be a little bit of glitch, I dont know heck what I just purchased!
Things will start to make sense. But here’s a quick overview -
- The PC will gather screen edge data and send it to the Node MCU ESP8266.
- ESP8266 will process incoming color data to the WS2812B LED Strip.
- LED strip will follow what coming via the channel.
- Jumper Wires will be used to connect everything, we might need power injection if the strip is longer. But we’ll come to that in a moment also you need not purchase any power source. as we’ll use node mcu 3.3V Pins to juice up the strips.
Setting Up Your LED Strips [Note: The strips might not light fully.]
- You need to configure the number of LED’s hooked onto your MCU and see the magic. WLED UI -> LED Settings -> Number of LED’s.
Setting up PC side of things
Prismatic Check the one compatible with your OS.
- This is what does the screen capturing, but this can’t directly communicate with our WLED Strip
- Download, install and run the latest release. You’ll be asked to go through the configuration wizard.
- Select “Setup another device” and then pick “WARLS (UDP, 255LED’s)”
- You’ll get to the “Zone placement section” make sure to set 60 LEDs and then select one of Andromedia, Cassiopeia, Pegasus
- Rest of the wizard steps are self-explanatory, so I won’t go through them
- You can re-run the configuration wizard from the “Devices” section
Configuration Tips & Tricks
- Set the “Grab Frequency” in Prismatik to the FPS that matches your screen’s refresh rate
- This might be a bit much, but I’m not seeing a significant performance hit even when playing video games
- Update the FPS in the Prismatik-WLED configuration accordingly
- Try out the Mood Lamp and Sound Visualization mode in Prismatik, they’re pretty cool
- For the Sound Viz mode to work properly, make sure to select the correct sound device’s “loopback” option
- Also, I prefer the “Twin Peaks” preset for Sound Viz as compared to the default one
- Prismatik will override whatever WLED configuration you may have set, so make sure to kill the Prismatik-WLED script when you only want the WLED effects / colours.
# This is the final outcome !
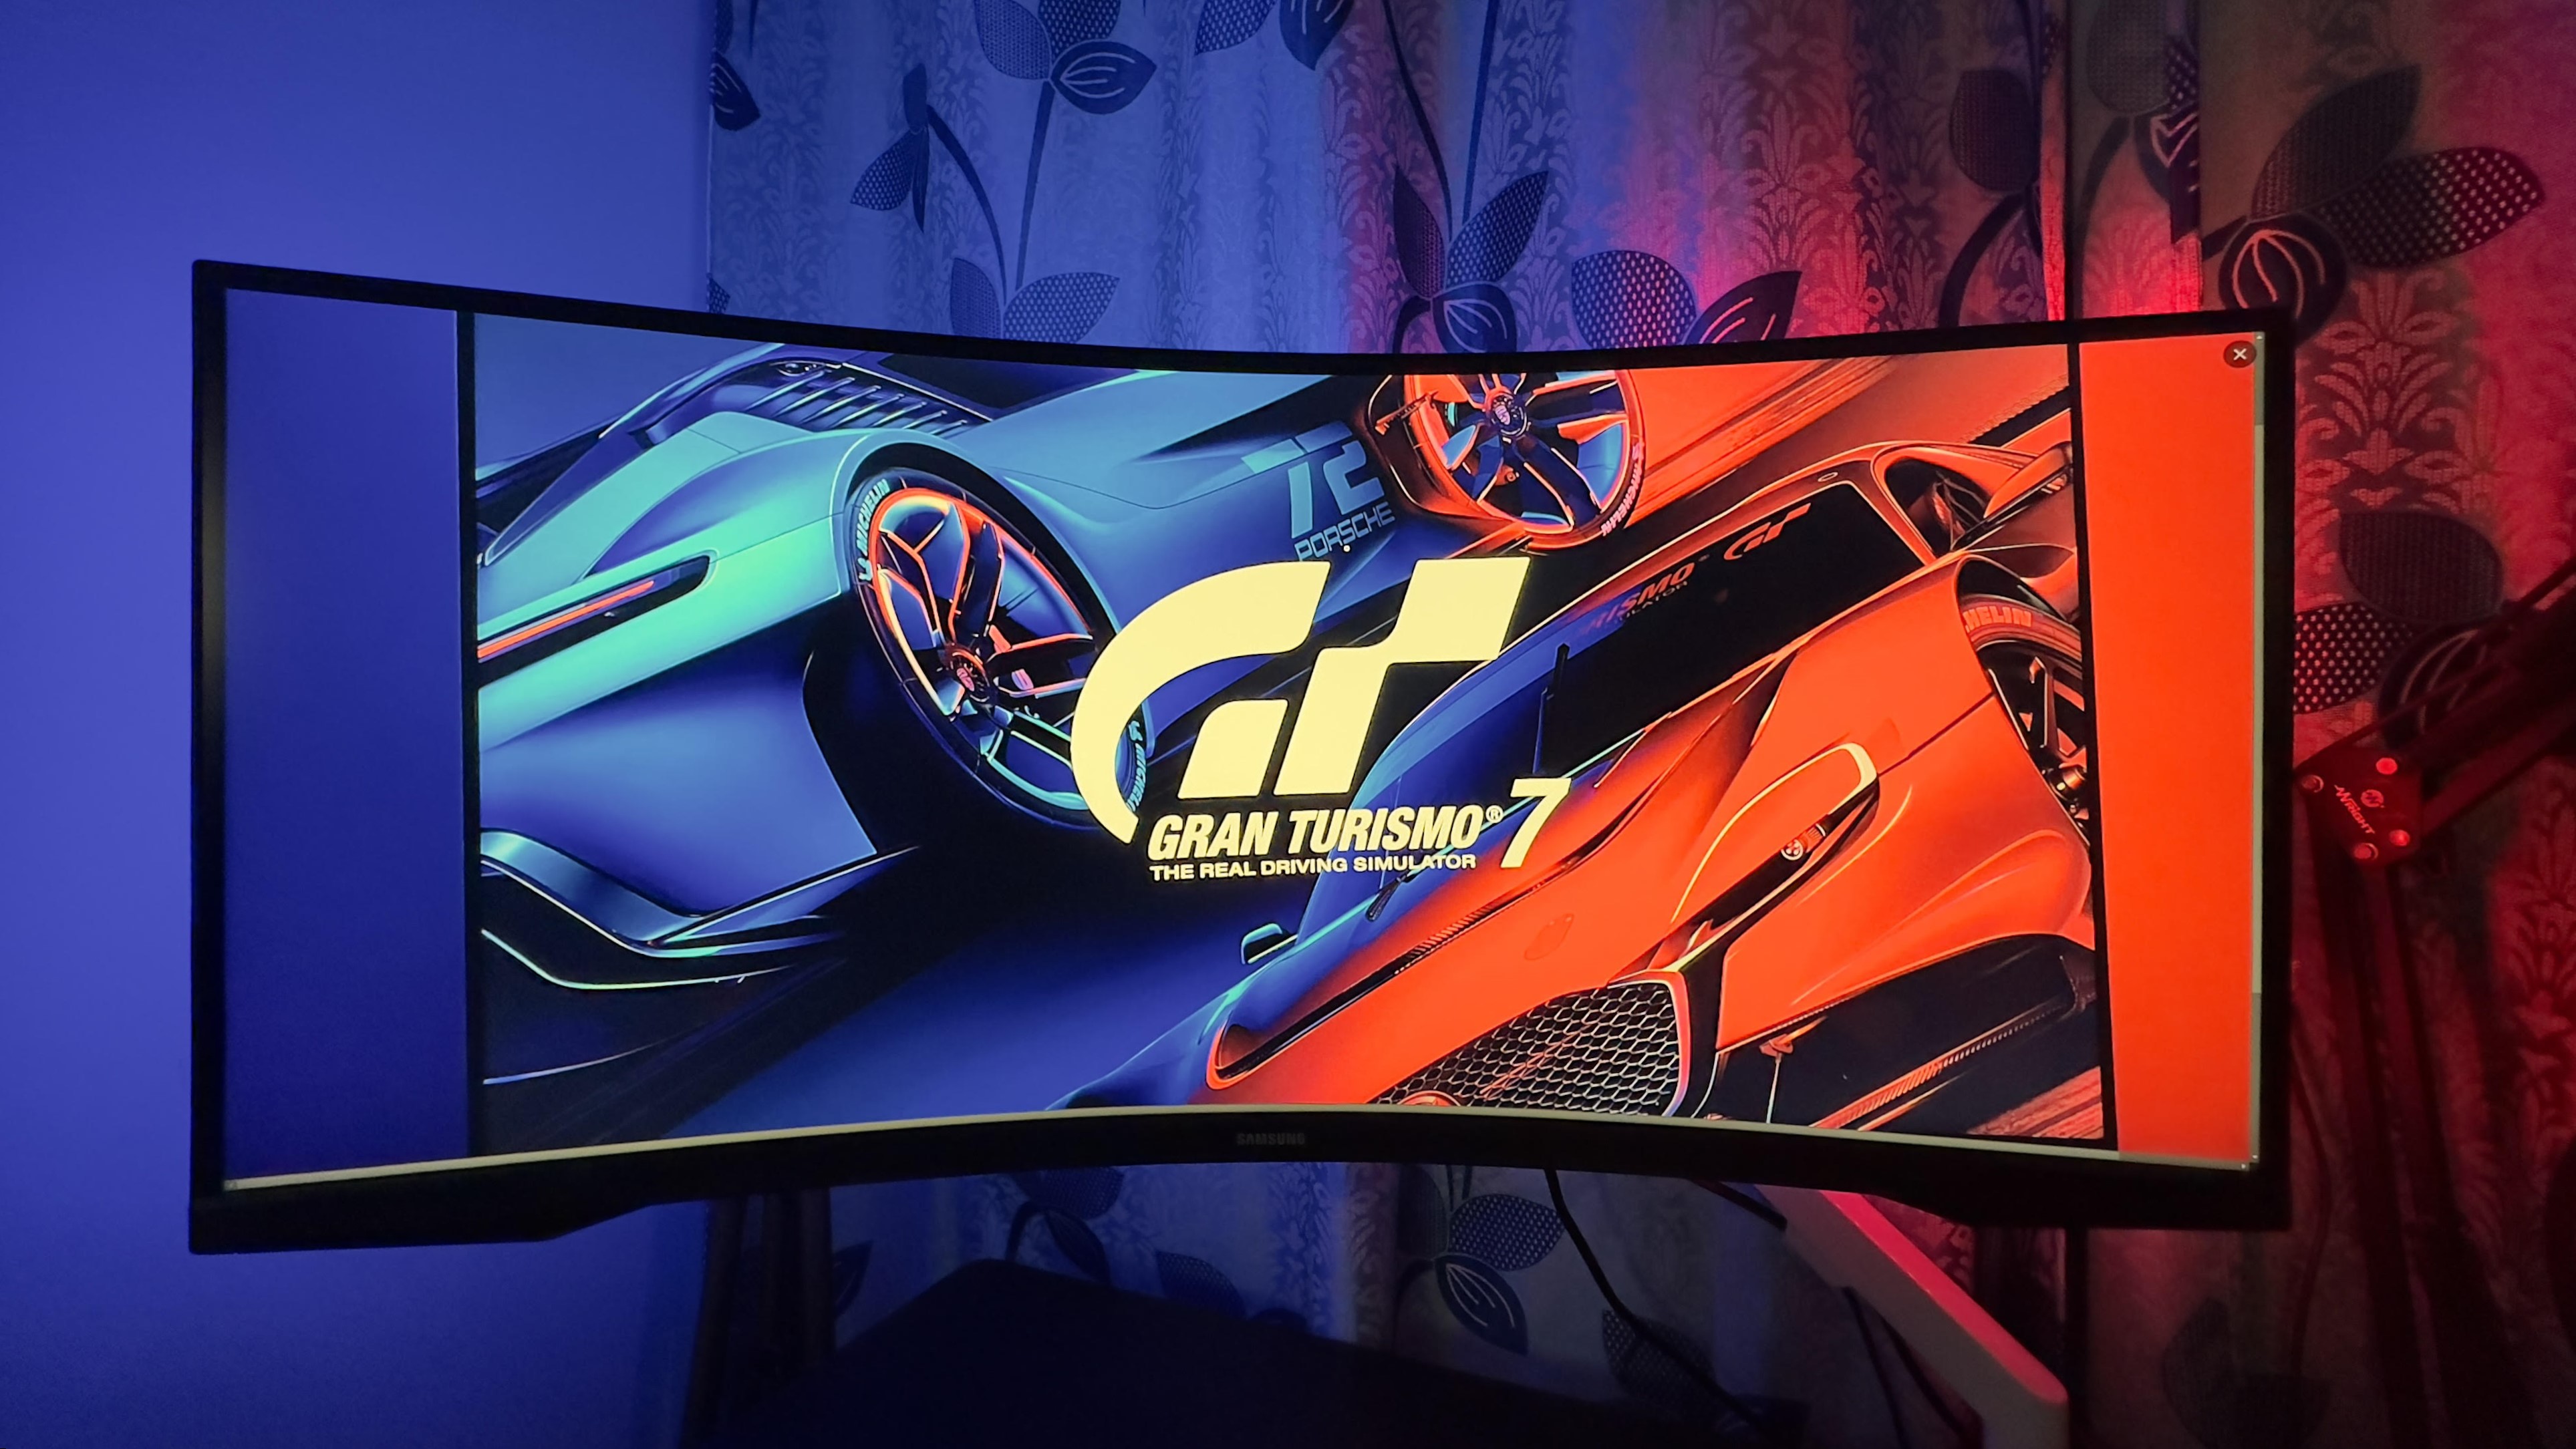
Wrapping Up
Because I wanted both WLED and Prismatik, I had to go with a more roundabout approach, but I’m quite happy with it as I get the best of both worlds.
It works with games too!
PS. If you have any query/suggestion feel free to reach out on the mentioned channels. Happy Tinkering!