I know I know you are here after lot of headbanging lets check this out together
Setting up a reliable and secure mail server can be a daunting task, especially when you’re juggling multiple services behind a reverse proxy. In this guide, we’ll walk through setting up Docker-Mailserver behind Nginx Proxy Manager (NPM). Let’s simplify the process step by step.
Prerequisites
- A domain name: We’ll use hanisntsolo.com for this guide.
- A host on top of a static ip so that we are not bouncing of the dns.
- Nginx Proxy Manager- I know i know your favourite tool.
- MX - Record for our case we will be using falcon.hanisntsolo.com.
Before moving further make sure
- You have added an MX record with falcon.hanisntsolo.com
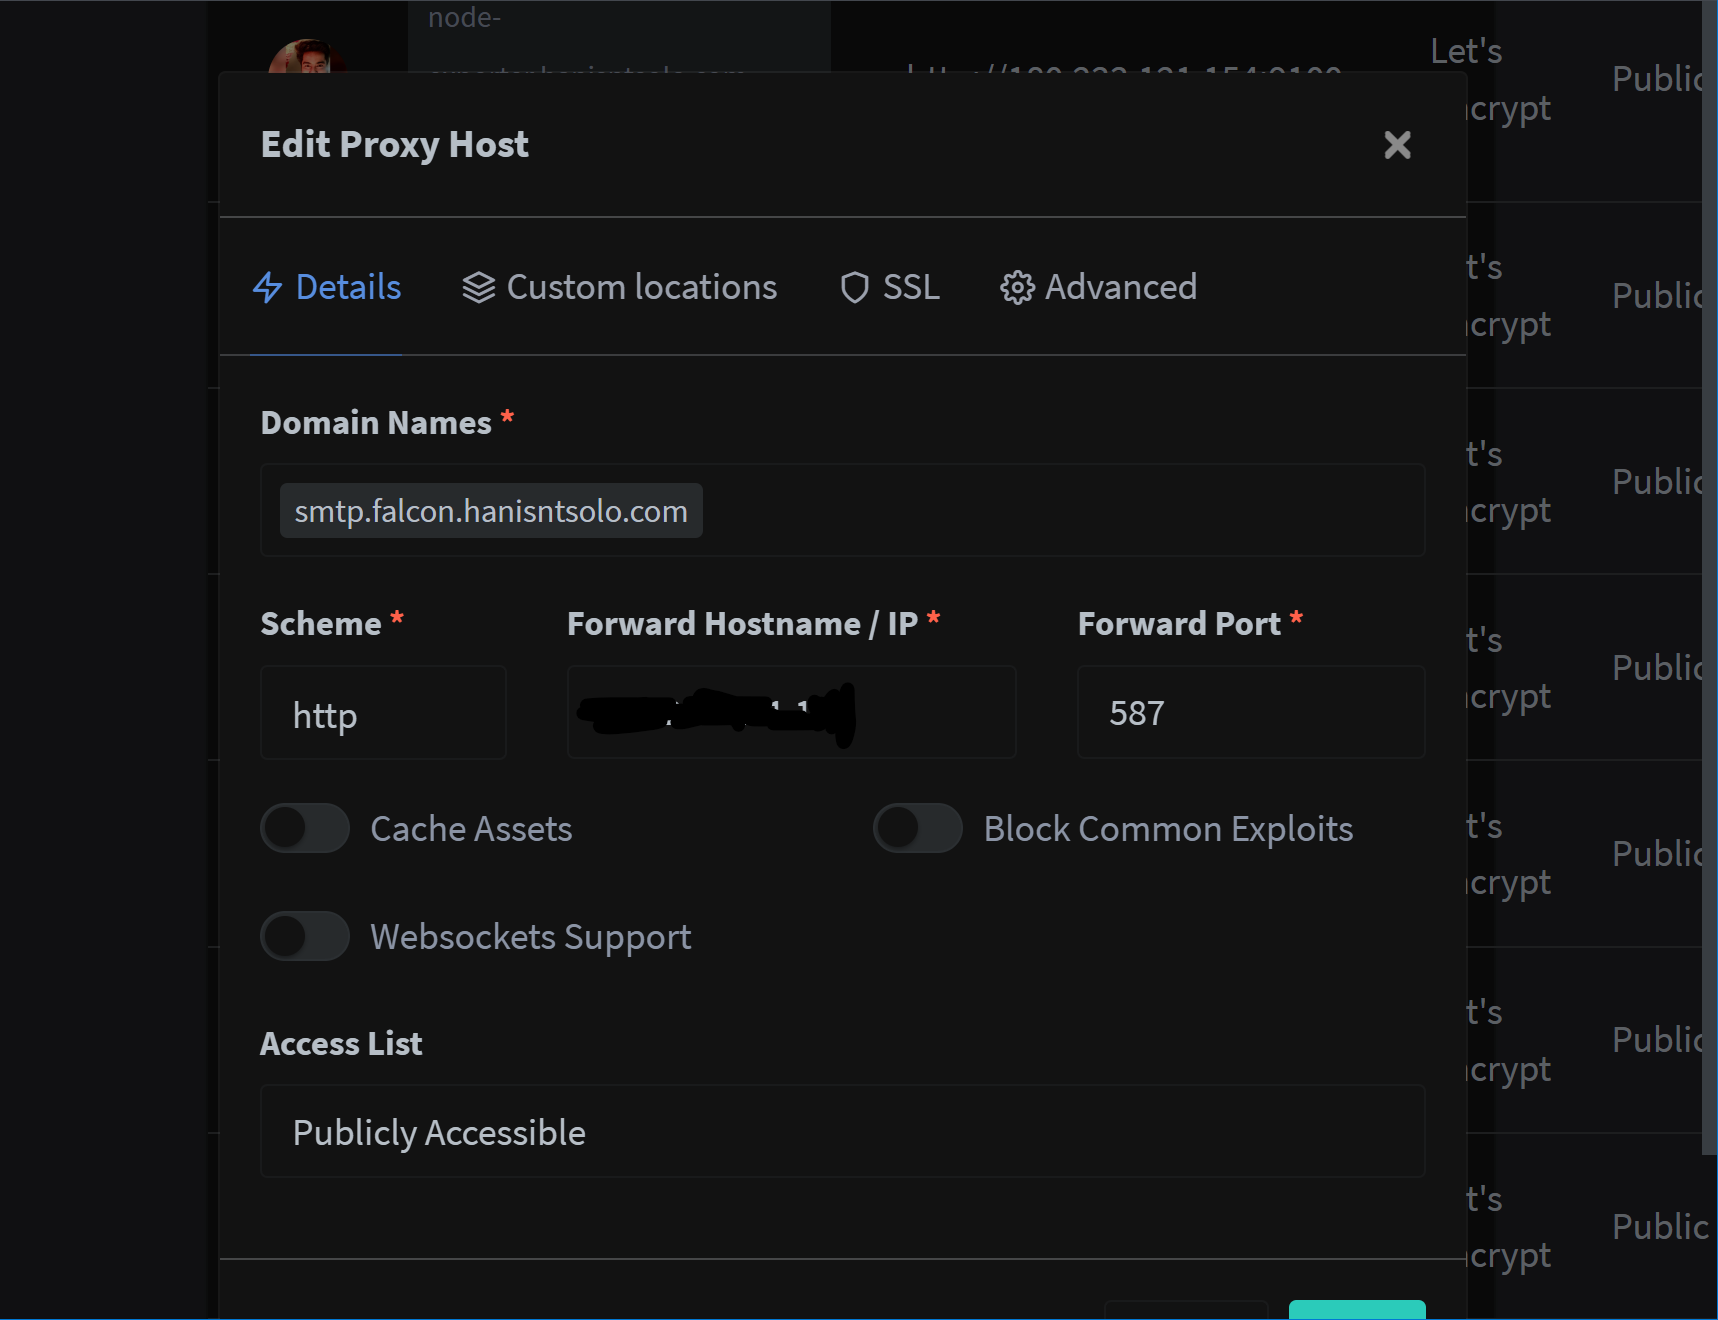
- Create CNAME records for smtp.falcon.hanisntsolo.com -> and map it to host on port 587 using reverse proxy in our case its nginx-reverse-proxy

- Create CNAME records for imap.falcon.hanisntsolo.com -> and map it to host on port 993.
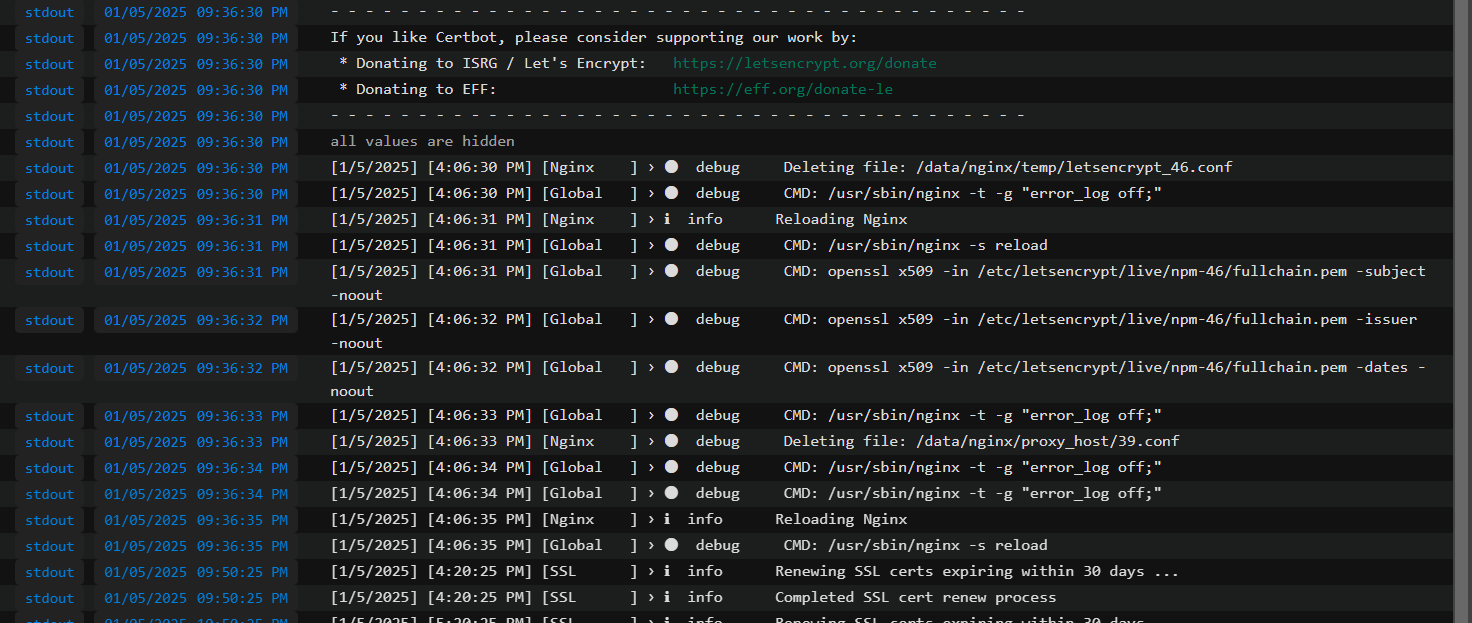
- Once you have added the smtp.falcon.hanisntsolo.com in nginx you can fetch the certs which are generated and can check their path from logs.

- Copy them to your hostmachine using docker-commands. Remember since the certs are sym link you need to target the symlink inorder to get the cert outside the container using copy command.
Fire these commands when you are located here : /media/hanisntsolo/WDBlue_ssd_hanis/docker-mailserver/docker-data/letsencrypt/live/

nginx-proxy-manager is the name of my nginx-proxy container.

docker cp nginx-proxy-manager:/etc/letsencrypt/archive/npm-46/privkey1.pem privkey.pem
docker cp nginx-proxy-manager:/etc/letsencrypt/archive/npm-46/fullchain1.pem fullchain.pem
Step 1: Setting Up Docker-Mailserver
- Clone the respective files from the docker-mailserver repository.
git clone https://github.com/docker-mailserver/docker-mailserver.git
- You will need the certs from nginx which will be generated when you’ll configure smtp.falcon.haninstsolo.com which you have to use for our case.
You can use any subdomain you want make sure you know where the certs are from the logs of nginx-proxy once you locate them simply copy them out from docker-container in my case or if you have them map them directly, use the path in below docker-compose.yml in volumes section to map the certs inside the container.
- Edit the compose.yml or rename compose.yml to docker-compose.yml if you have got accustomed to it. Do the necessay setup like creating the data directory etc.
services:
  mailserver:
    image: ghcr.io/docker-mailserver/docker-mailserver:latest
    container_name: falcon-mailserver
    # Provide the FQDN of your mail server here (Your DNS MX record should point to this value)
    hostname: falcon.hanisntsolo.com # Replace with you mailserver address.
    env_file: mailserver.env
    # More information about the mail-server ports:
    # https://docker-mailserver.github.io/docker-mailserver/latest/config/security/understanding-the-ports/
    ports:
      - "25:25"    # SMTP  (explicit TLS => STARTTLS, Authentication is DISABLED => use port 465/587 instead)
      - "143:143"  # IMAP4 (explicit TLS => STARTTLS)
      - "465:465"  # ESMTP (implicit TLS)
      - "587:587"  # ESMTP (explicit TLS => STARTTLS)
      - "993:993"  # IMAP4 (implicit TLS)
    volumes:
      - ./docker-data/dms/mail-data/:/var/mail/
      - ./docker-data/dms/mail-state/:/var/mail-state/
      - ./docker-data/dms/mail-logs/:/var/log/mail/
      - ./docker-data/dms/config/:/tmp/docker-mailserver/
      - /etc/localtime:/etc/localtime:ro
      # The below is the path where i am keeping the certs generated by nginx-reverse-proxy which i will tell you how to get.
      - /media/hanisntsolo/WDBlue_ssd_hanis/docker-mailserver/docker-data/letsencrypt/live/:/media/hanisntsolo/WDBlue_ssd_hanis/docker-mailserver/docker-data/letsencrypt/live/
    restart: always
    stop_grace_period: 1m
    # Uncomment if using `ENABLE_FAIL2BAN=1`:
    cap_add:
      - NET_ADMIN
    healthcheck:
      test: "ss --listening --tcp | grep -P 'LISTEN.+:smtp' || exit 1"
      timeout: 3s
      retries: 0
- Edit mailserver.env with below flags
ENABLE_OPENDKIM=0
ENABLE_OPENDMARC=0
ENABLE_POLICYD_SPF=0
ENABLE_CLAMAV=1
ENABLE_RSPAMD=1 # this is very very important this will take care of creating SPF,
ENABLE_AMAVIS=0
ENABLE_FAIL2BAN=1
SSL_TYPE=manual
SSL_CERT_PATH=/media/hanisntsolo/WDBlue_ssd_hanis/docker-mailserver/docker-data/letsencrypt/live/fullchain.pem # Make note of the file this file maps to the path of the letsencrypt cert we need to have into the container.
SSL_KEY_PATH=/media/hanisntsolo/WDBlue_ssd_hanis/docker-mailserver/docker-data/letsencrypt/live/privkey.pem # Make note of the file
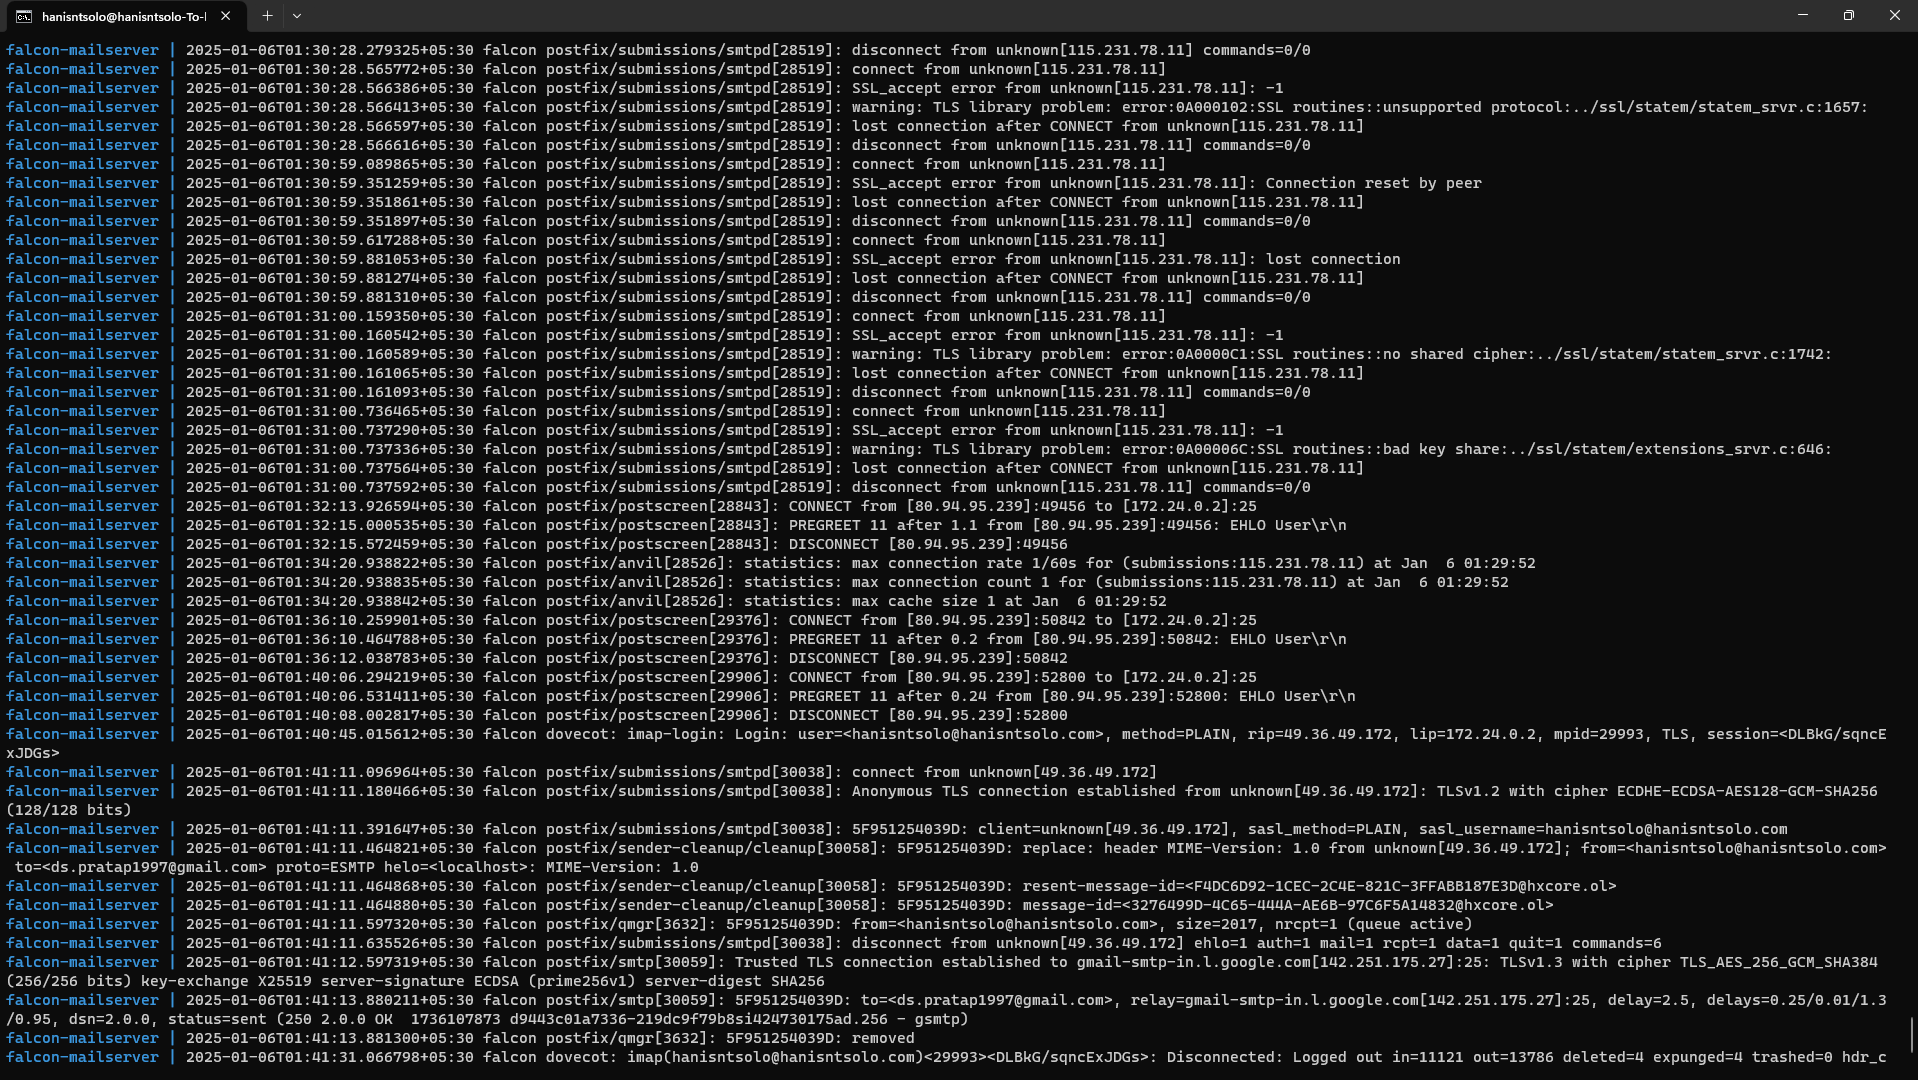
- Now you are ready to bring the docker-mailserver up, issue below command where you have the docker-compose.yml and mailserver.env file. and check the logs issue docker-compose logs.
docker-compose up -d
Step 2: Creating dns records
Very Important Step or else your setup will be left unoperable.
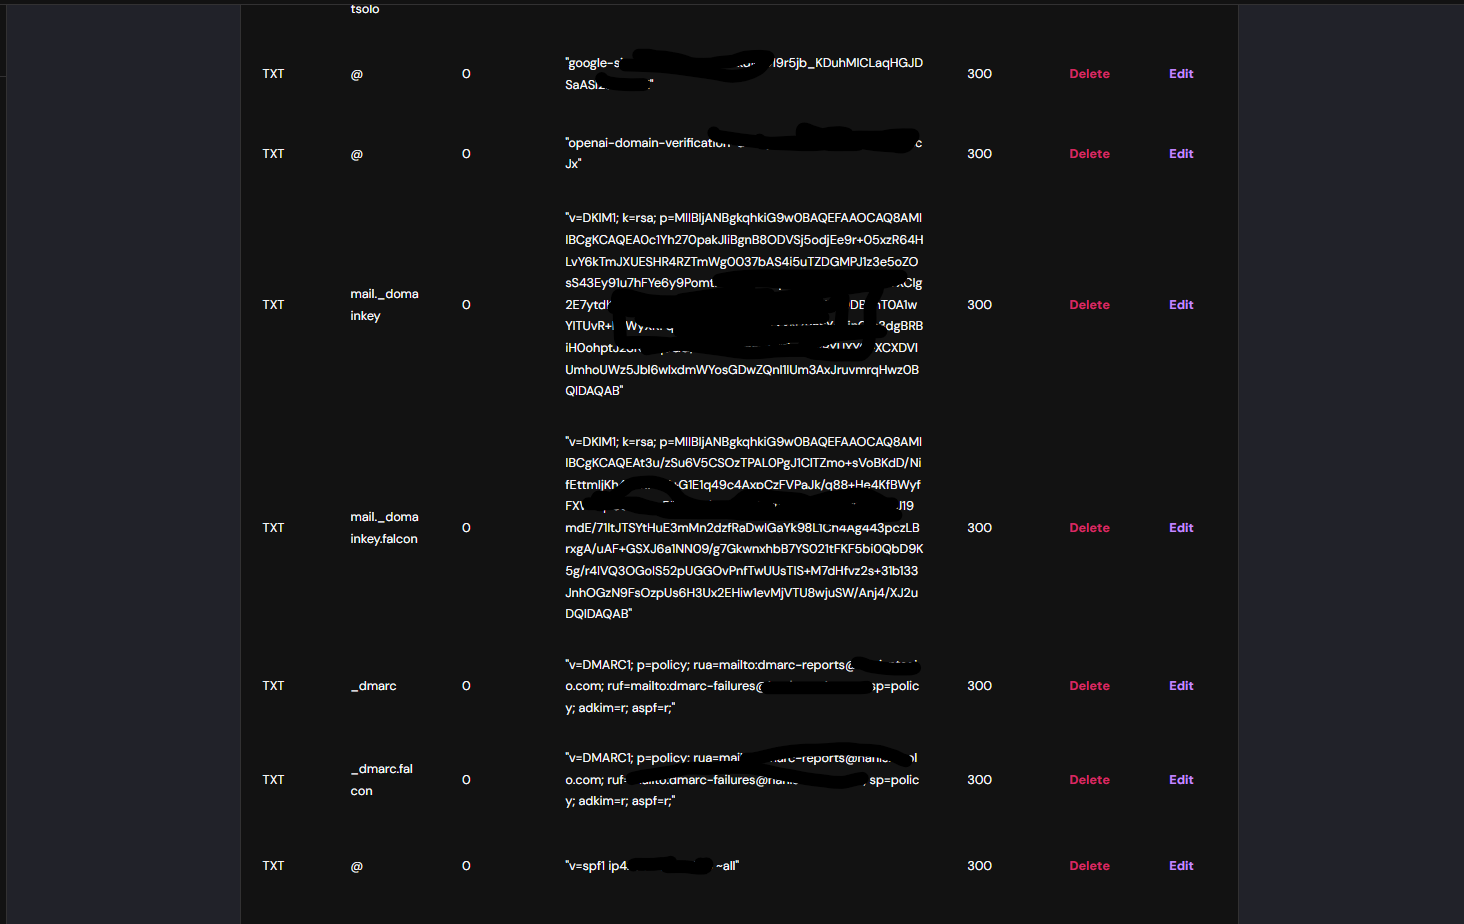
- Create SPF Record
Add the below as a TXT Record

@  ->    "v=spf1 ip4:ip-address-of-your-host-machine ~all"

replace the ip-address-of-your-host-machine with actuall ip address.
- Create dkim Record
docker exec -it falcon-mailserver setup config dkim domain falcon.hanisntsolo.com

The above command will create a txt record
with name and value, add it to your dns txt record.

it will look something like below:

2025-01-06 01:27:52+05:30 INFO  rspamd-dkim: Creating DKIM keys of type 'rsa' and length '2048' with selector 'mail' for domain 'test.hanisntsolo.com'
2025-01-06 01:27:52+05:30 INFO  rspamd-dkim: Successfully created DKIM keys
2025-01-06 01:27:52+05:30 INFO  rspamd-dkim: '/tmp/docker-mailserver/rspamd/override.d/dkim_signing.conf' exists, not supplying a default ('--force' does not overwrite this file, manual adjustment required)
2025-01-06 01:27:52+05:30 INFO  rspamd-dkim: Here is the content of the TXT DNS record mail._domainkey.test.hanisntsolo.com that you need to create:

v=DKIM1; k=rsa; p=MIIBIjANBgkqhkiG9w0BAQEFAAOCAQ8AMIIBCgKCAQEAtrLf9nVZ6FwLaWDTI5zcBWlCT8h4TJS8UO2a5uibDJc53zOYlaca0Fj0RG7nuroI/Siv4RDTmlUp3Y6Dvf9Ax8e+5faVJxKMmTX8uG+xxZN8wBbVRgzfdlt17HWsJYJ7v2ckqut1CfX9d52cSFEhzTUi7bmdzma9yc4t5n3plhbsuCGADWXkDqXU6w/W9Hiy4zB/evqerDI2rMIZzPsu+di1LJbGfV8038B/RInJbMNMIUjETNZOcF+GkKbEPSowRh/l9avpH7oBwCiw/Bklp8FJ/7MUdfTutvpwKobQMy3Ejt1FZrZ3z/PdRLOoL/FXT5D0gpKUDd71kV6THnjiZQIDAQAB

rspamd: stopped
rspamd: started

_domainkey.test.hanisntsolo.com                 ->          "v=DKIM1; k=rsa; p=MIIBIjANBgkqhkiG9w0BAQEFAAOCAQ8AMIIBCgKCAQEAtrLf9nVZ6FwLaWDTI5zcBWlCT8h4TJS8UO2a5uibDJc53zOYlaca0Fj0RG7nuroI/Siv4RDTmlUp3Y6Dvf9Ax8e+5faVJxKMmTX8uG+xxZN8wBbVRgzfdlt17HWsJYJ7v2ckqut1CfX9d52cSFEhzTUi7bmdzma9yc4t5n3plhbsuCGADWXkDqXU6w/W9Hiy4zB/evqerDI2rMIZzPsu+di1LJbGfV8038B/RInJbMNMIUjETNZOcF+GkKbEPSowRh/l9avpH7oBwCiw/Bklp8FJ/7MUdfTutvpwKobQMy3Ejt1FZrZ3z/PdRLOoL/FXT5D0gpKUDd71kV6THnjiZQIDAQAB"
- Create dmarc Record
Add below line as a TXT record to your configuration in dns

name                            value

_dmarc.falcon.hanisntsolo.com  "v=DMARC1; p=quarantine; rua=mailto:dmarc-reports@hanisntsolo.com"

Boom now you can send and recieve emails
Setup the smtp.falcon.hanisntsolo.com for sending the mails from any known supplier.

Verify you Setup
Visit helloinbox.email and verify you setup all should be green.
